One of the services roomvu provides Real Estate agents with is the automated email marketing system where agents can send emails to their audience. To do so they need to set up a campaign once and sit back. No need to do anything else. The email campaign will send the best content for your area to your audience on a certain day. This article will explain the steps you need to take once to make sure everything is working well.

How to Set up and Run An Email Campaign on roomvu
Here are the steps you need to take:
Login and Find Email Campaigns Page
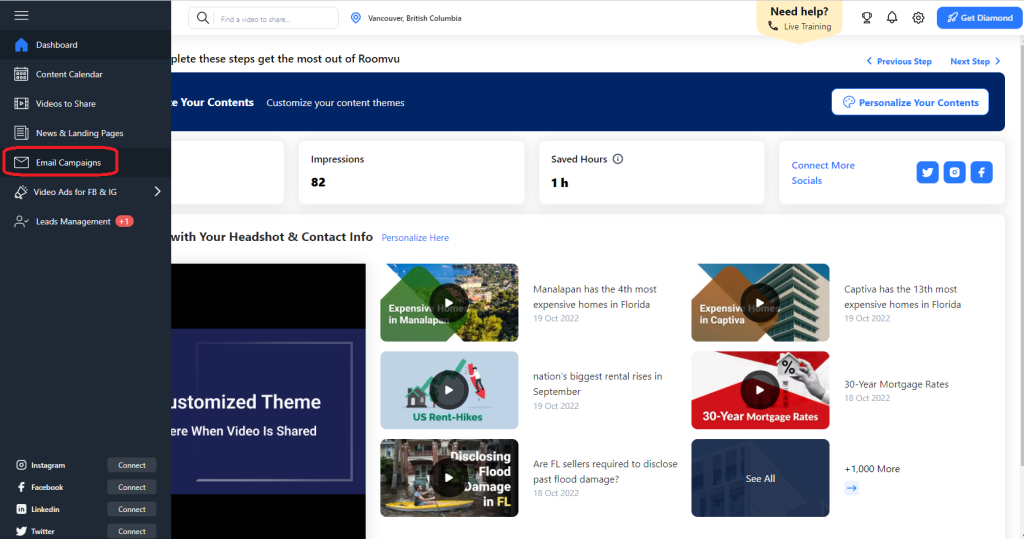
First, log in to your account, and on the right sidebar, click on “Email Campaigns“.
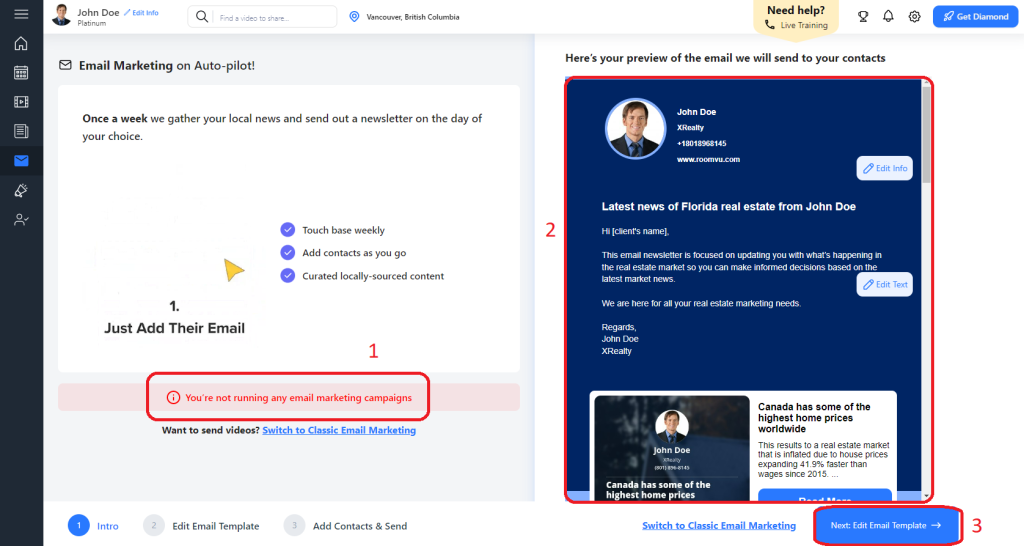
The first page will show if you are running any email campaigns at the moment or not. On the right side, you can see a preview of the emails that will be sent to your audience. Click on “Next: Email Template” to start editing your emails.
On the next page, you can change the email and the time and frequency of the emails, as shown below. Make the necessary changes and click on “Save”.

Now, you can change the email’s body and use your customized text. However, remember that words in brackets should not be changed as our system will insert them automatically. You can send a test email to yourself at this stage or click on the preview to see how the email will look.
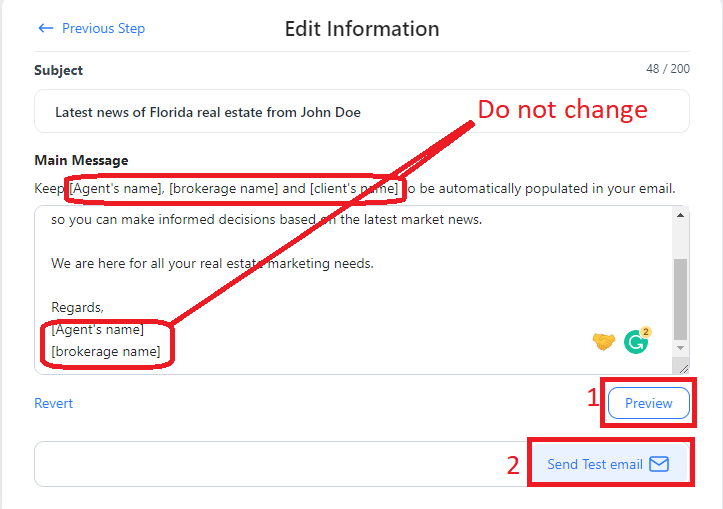
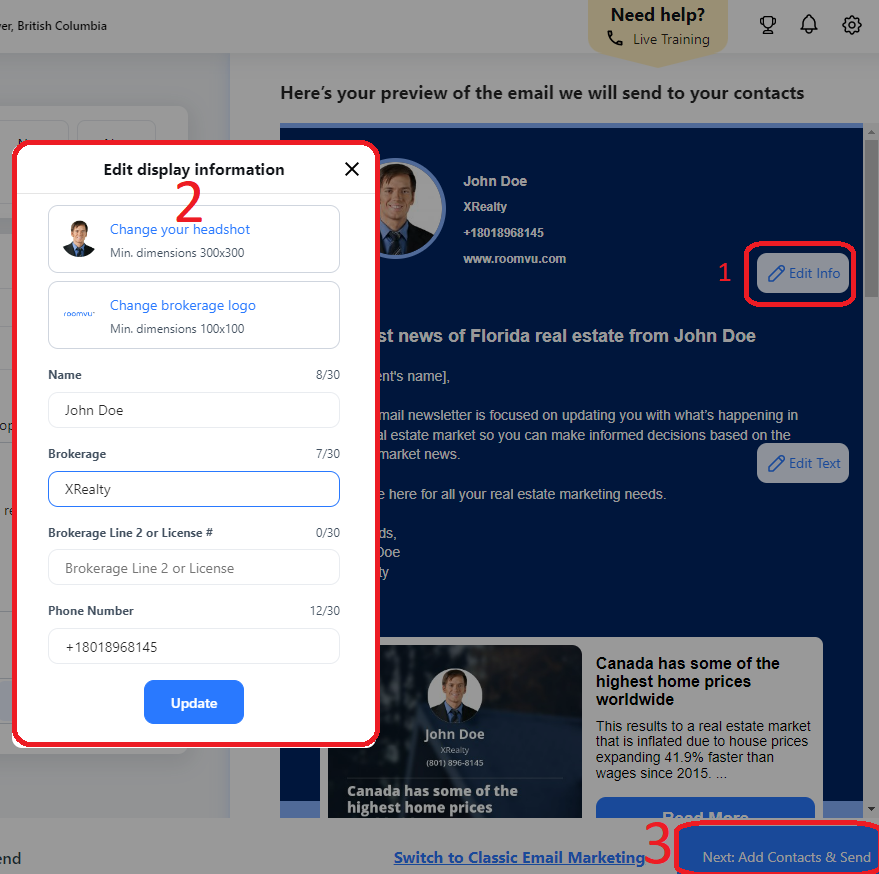
When you click on “Preview,” You can see how the email will look on the right side of the screen. From here, you can change your information as well. Make the necessary changes and click on “Update” when done. Then click on “Next: Add Contacts & Send“
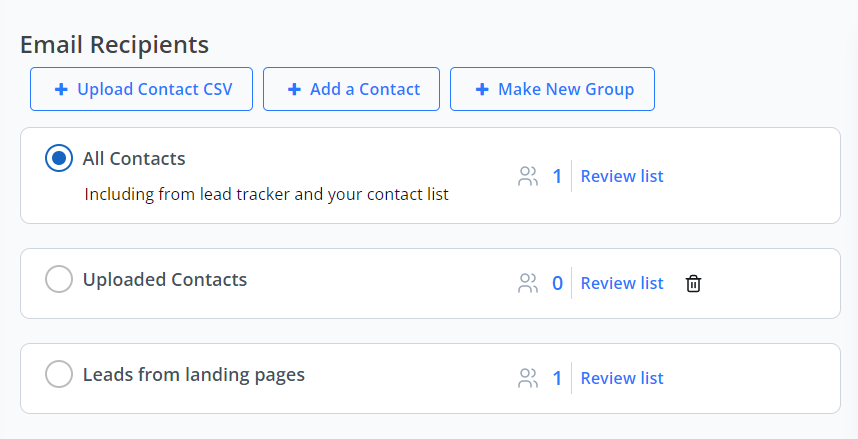
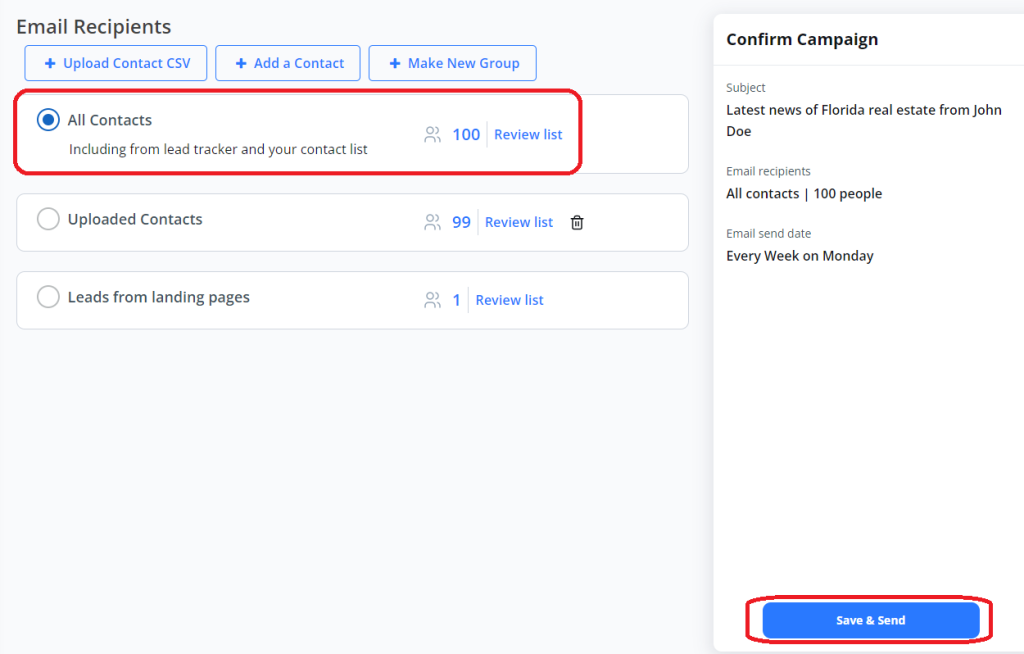
Now, you need to select your audience. You can choose your uploaded contacts, leads from landing pages, or all contacts.
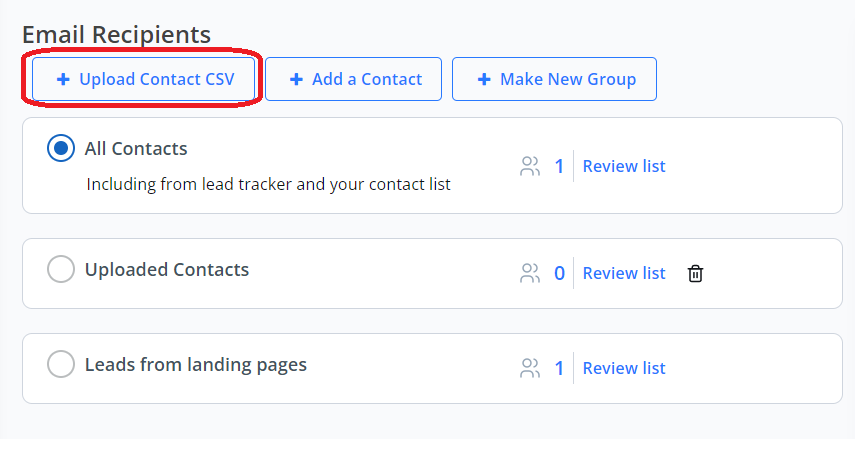
To upload your contacts, click on “+ Upload Contacts CSV“.
Check this article to see how your contacts’ CSV files should be organized.
How to Upload Contact Lists to roomvu Email Marketing Tool
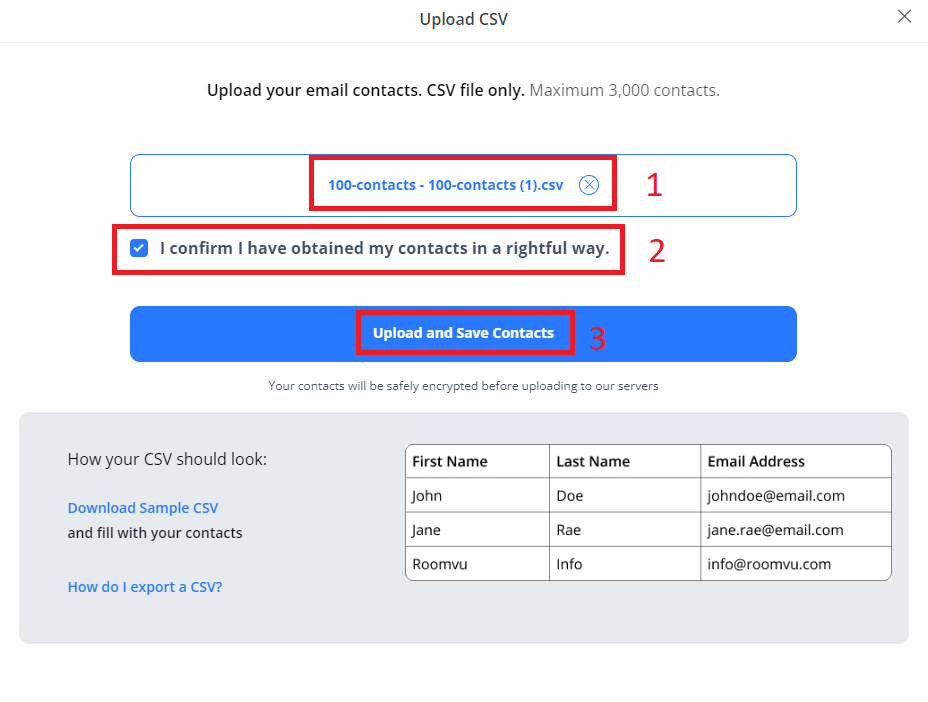
Click “Choose your CSV file” to pick the contacts list you created using the guide above.
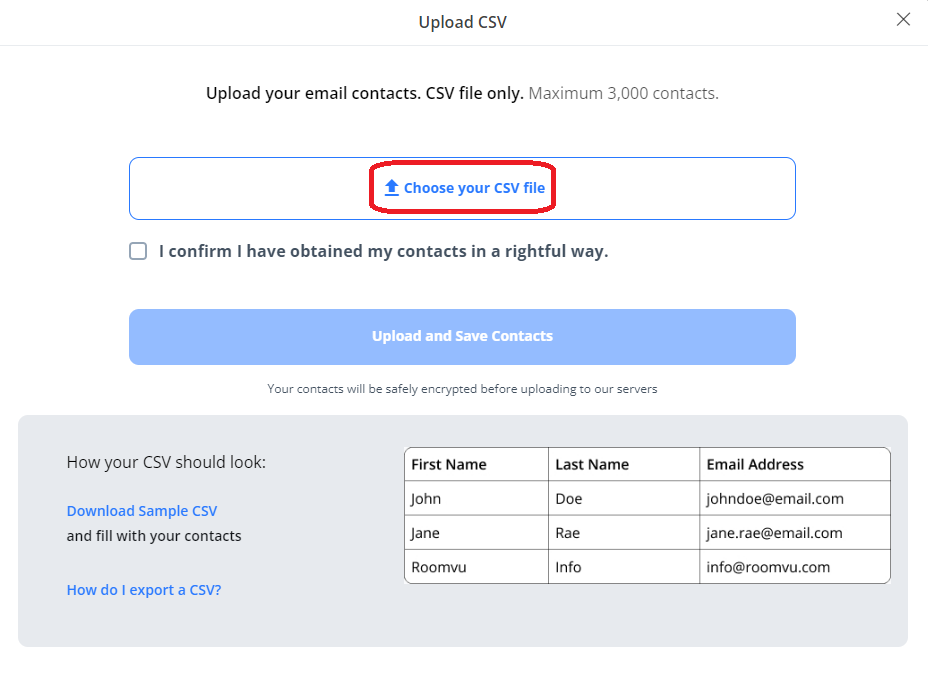
Once you have selected your contacts lists, check the sentence: “I confirm I have rightfully obtained my contacts.” Then click on “Upload and Save Contacts“.
Next, make sure you click on “Save & Send”. If you fail to do so, your email campaign will not be set and no email will be sent.
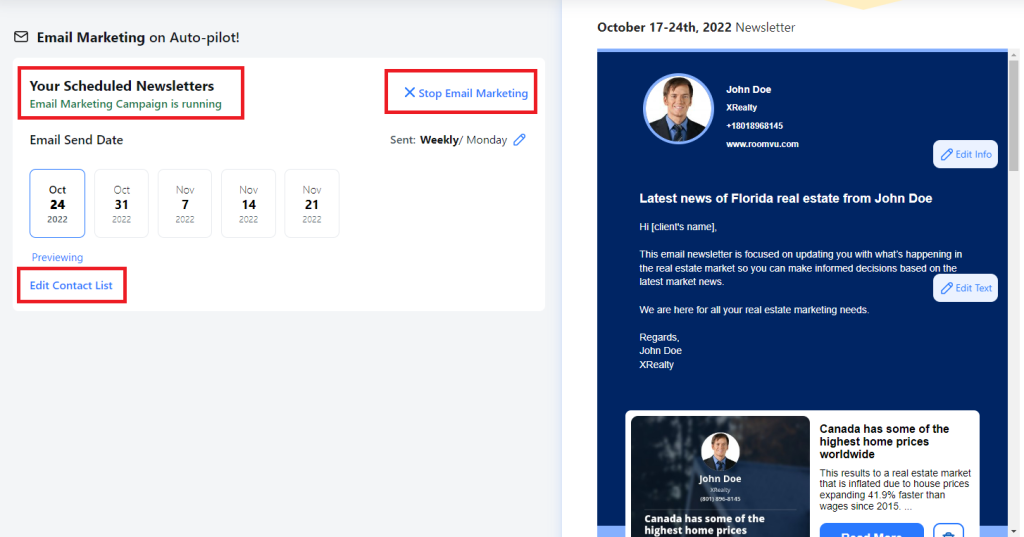
Now your email campaign is set (1). You can stop it (2) or edit your contacts (3), as shown in the image below.